Showing posts with label wire wrap. Show all posts
Showing posts with label wire wrap. Show all posts
Thursday, February 24, 2011
New Downloadable Projects!
Monday, April 12, 2010
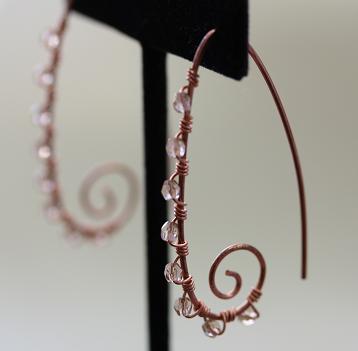
Swarovski and Cane Glass Bracelet designed by Judy Corning

Swarovski and Cane Glass Bracelet, designed by Judy Corning
You Will Need:
5mm square Bali sterling silver spacers (12)
10mm sterling silver round beads (4)
12mm Swarovski crystal cube (1)
8mm Swarovski crystal cube (3)
6mm Swarovski crystal cube (2)
Cane glass beads in mixed colors, approx. 10mm (5)
3mm sterling silver round beads (4)
5mm Swarovski crystal bicones (12)
6mm Swarovski crystal bicones (4)
Sterling silver toggle clasp
SoftFlex beading wire in medium (12 inches)
2x2mm crimp beads (2)
2 inch 24 gauge sterling silver headpin (2)
Instructions:
1. String beads onto SoftFlex in the following order: 5mm bicone, Bali square, 6mm crystal cube, Bali square, 5mm bicone, cane glass, 5mm bicone, 10mm silver bead, 6mm bicone, Bali square, 8mm crystal cube, Bali square, 5mm bicone, cane glass, 5mm bicone, 10mm silver bead, 6mm bicone, Bali square, 12mm crystal cube, Bali square, 5mm bicone, 6mm bicone, 10mm silver bead, 5mm bicone, cane glass, 5mm bicone, Bali square, 8mm crystal cube, Bali square, 6mm bicone, 10mm silver bead, 5mm bicone, cane glass, 5mm bicone, Bali Square, 6mm crystal cube, Bali square, 5mm bicone.
2. Crimp one side of the SoftFlex to the toggle ring, and crimp the other side of the SoftFlex to the toggle bar. Be sure to check the fit and remove any slack in the wire before crimping. Cut off any extra wire.
3. Thread the following beading onto one head pin: 3mm silver bead, Bali square, 8mm crystal cube, Bali square, 3mm bead. Form a wire wrapped loop above the beads, making sure to attach the loop to the base of the toggle ring before wrapping the loop closed. Cut off any extra wire.
4. Thread the following onto the second head pin: 3mm silver bead, cane glass, 3mm silver bead. Form a wire wrapped loop above the beads, making sure to attach the loop to the base of the toggle ring before wrapping the loop closed. The two dangles will be right next to one another. Cut off any extra wire.
For more great project ideas, Check Out Our FREE Downloadable Projects!
Saturday, March 27, 2010
How to Make a Rosary

Materials needed:
53 beads for “Hail Mary” (A Bead)
6 beads for “Our Father” (B Bead)
1 crucifix
1 three loop connector or Rosary center
14 short lengths of chain (approx. ½ inch long)
24 gauge wire for wrapping, cut into 59 3 inch pieces
4 jump rings, 5mm 19 gauge
Traditional Rosary Instructions:
1. Using the 24 gauge wire, make a long wire wrapped strand following this pattern: chain, 10 of the A beads, chain, one B bead, chain, 10 of the A beads, chain, one B bead, chain, 10 of the A beads, chain, one B bead, chain, 10 of the A beads, chain, one B bead, chain, 10 of the A beads, chain. Each bead is its own wire wrapped unit, so you’re looking at 118 wire wrapped loops altogether in this project! It’s great wire wrapping practice!
2. Using jump rings, connect each end of the strand to the three loop connector.
3. Using the 24 gauge wire, make a short wire wrapped strand following this pattern: chain, one B bead, chain, 3 of the A beads, chain, one B bead, chain.
4. Using jump rings, connect one end of the short strand to the bottom loop of the three loop connector. Connect the other end to the crucifix.
Subscribe to:
Posts (Atom)